How to encash your Collector Coins
Step 1 - Set up MetaMask Wallet
It’s a one-time effort to set this up!
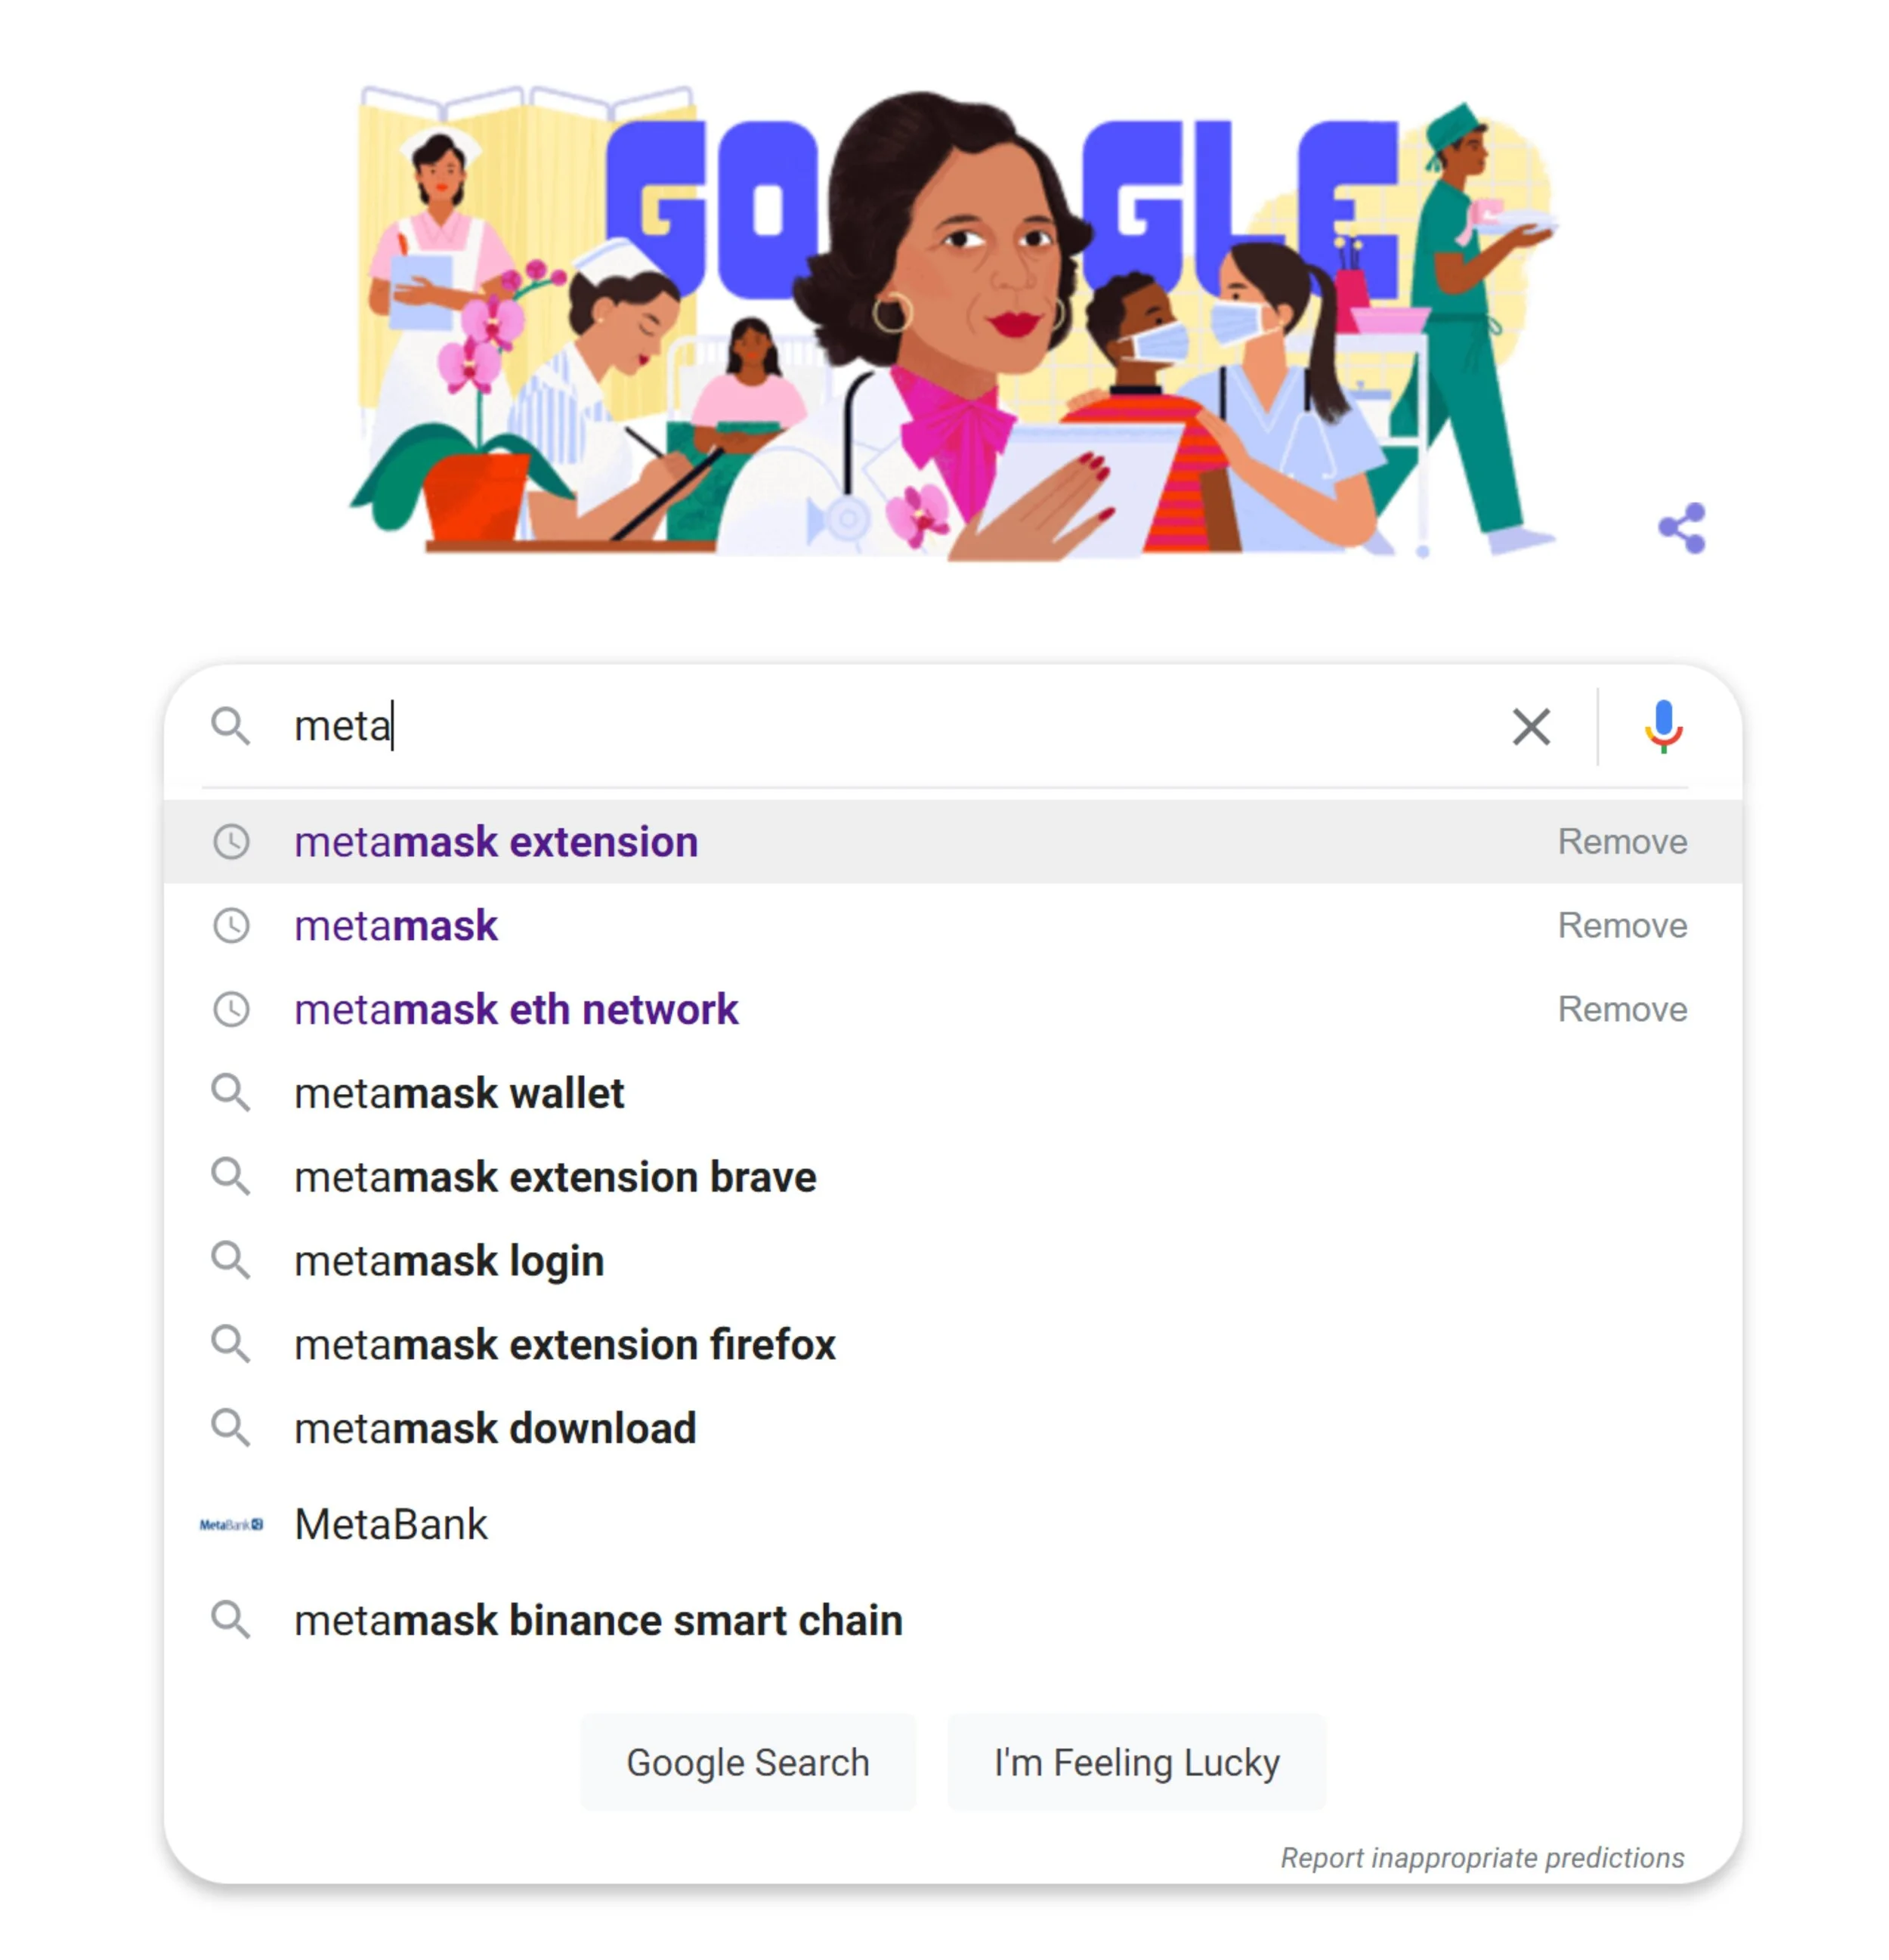
1a - Download Metamax Extension for Chrome
Click on this link and press on “Add to Chrome” button to download the MetaMask extension for Chrome.
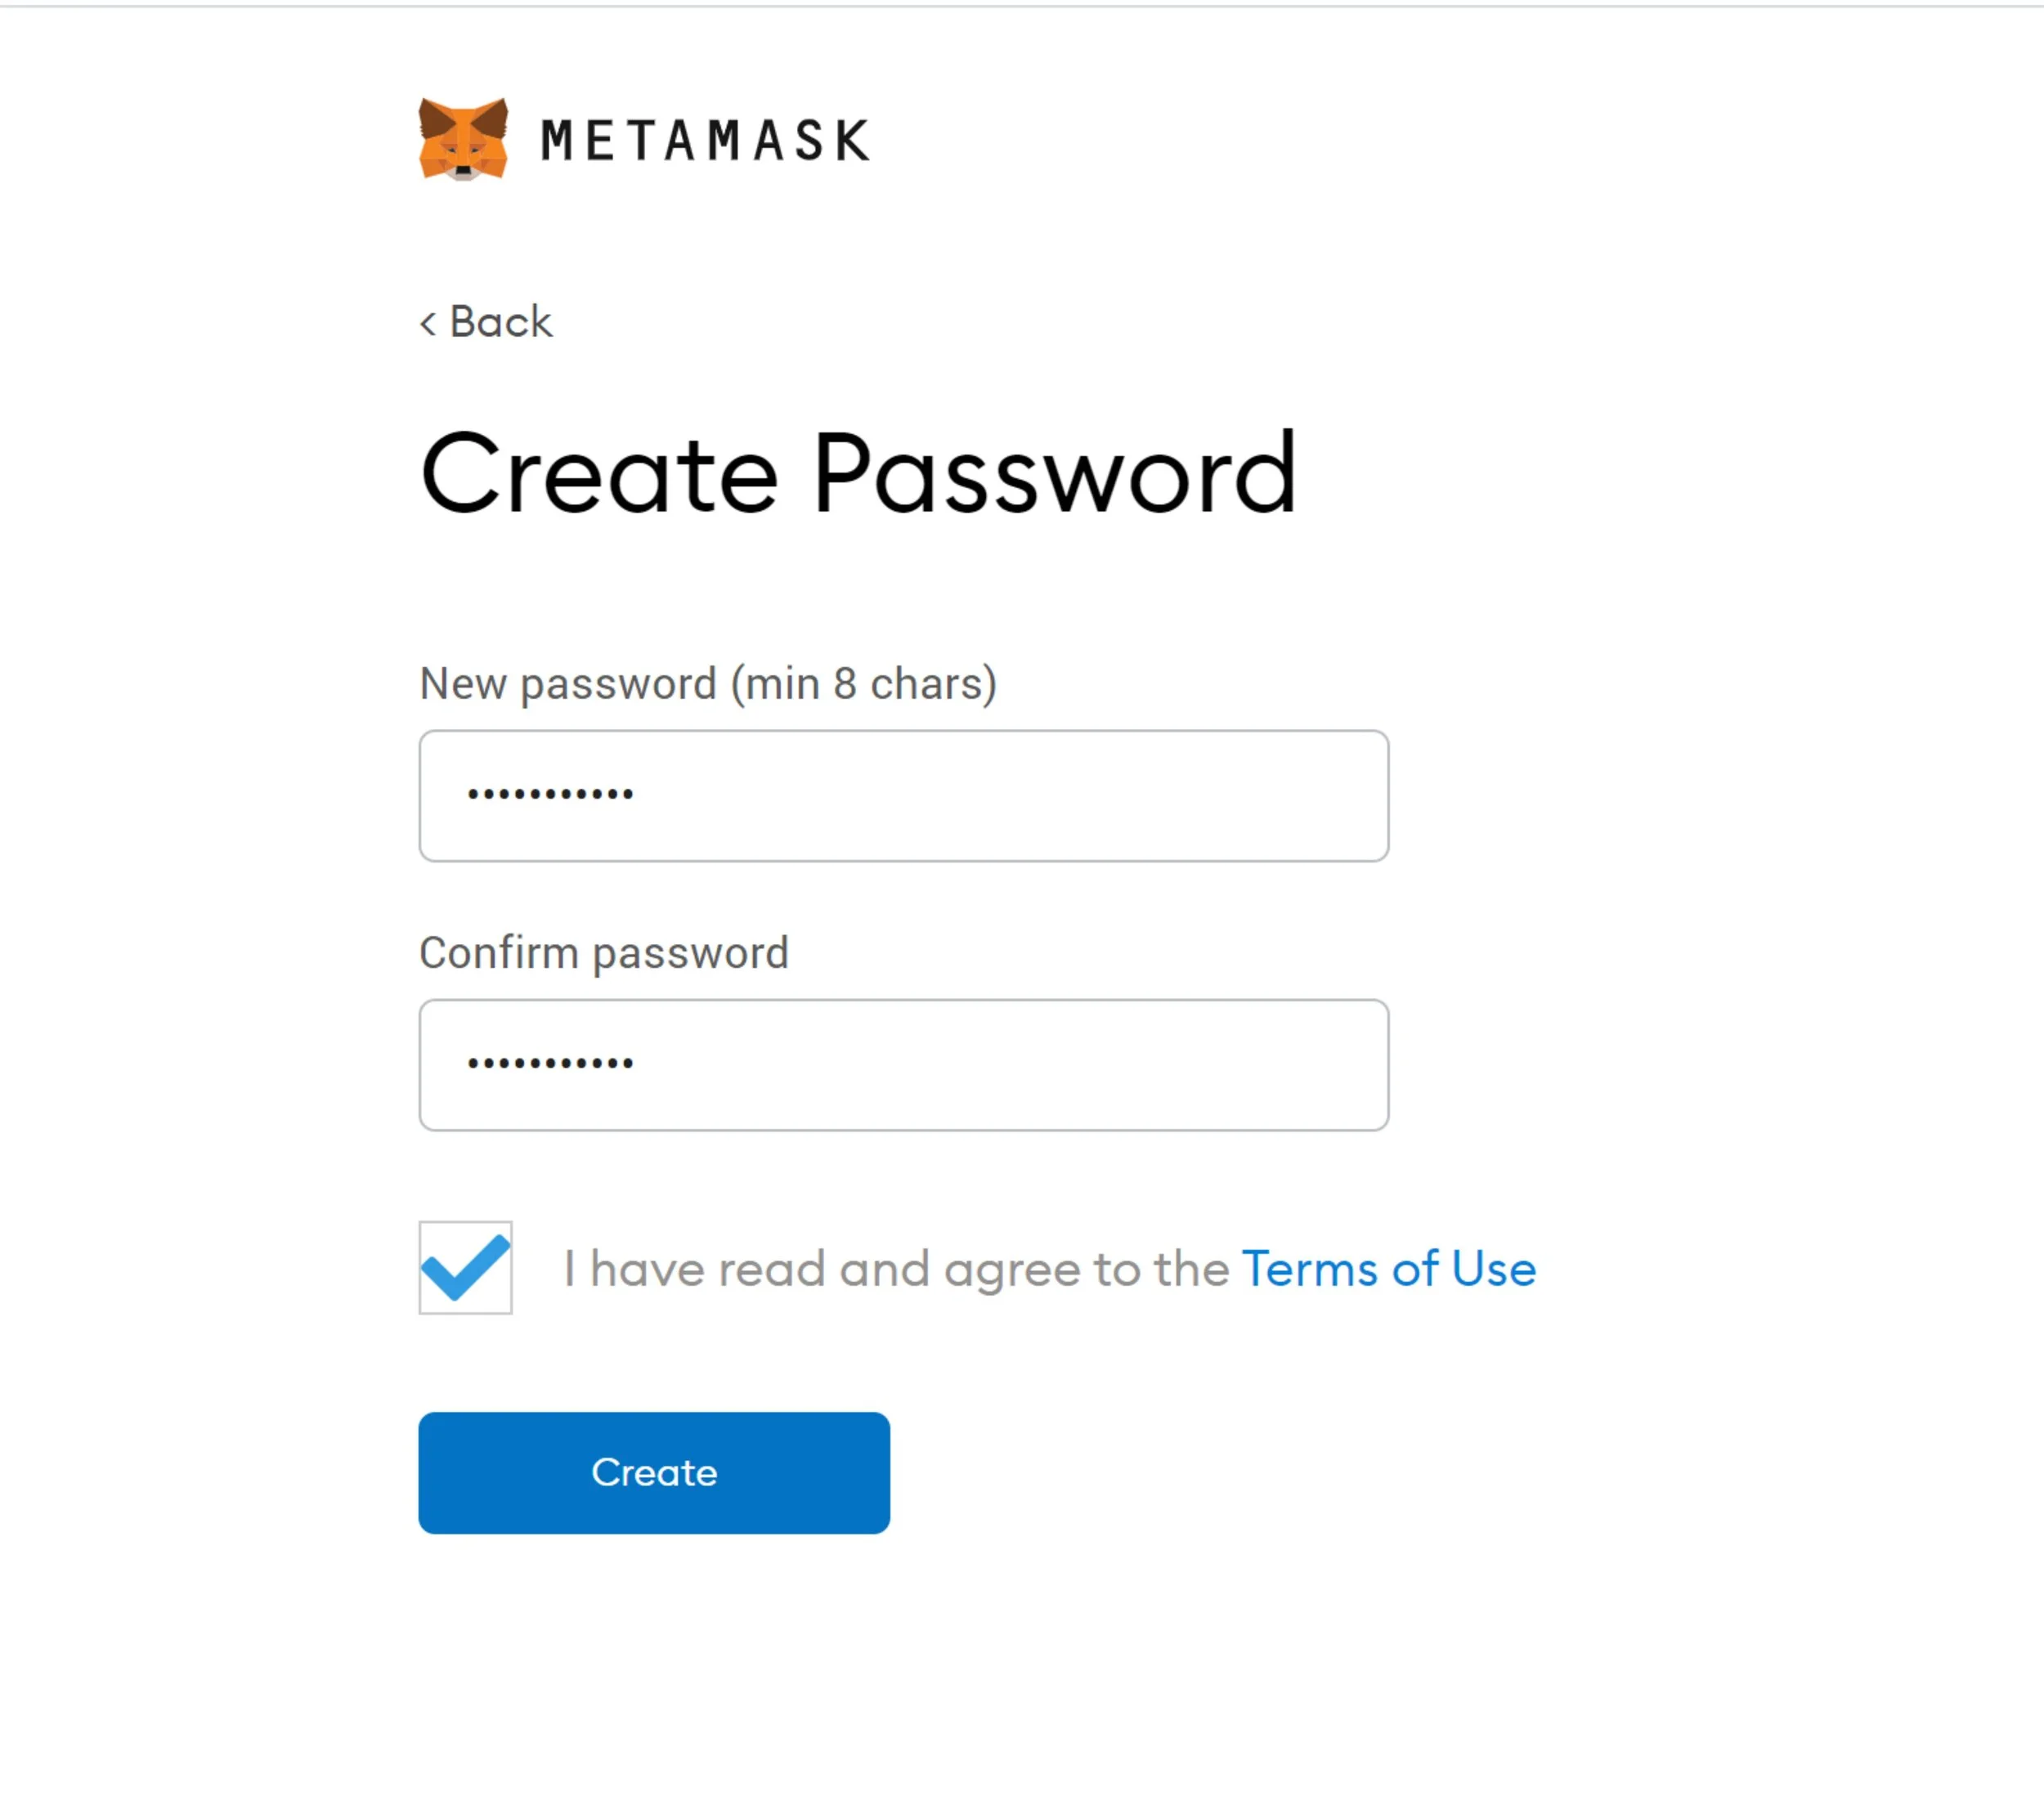
1d - Create Password
Type in your new password twice. Make the password strong by using a capital letter, numbers, and alphanumeric keys. Please do not share your password with anyone.
1g - Set your Network
You need to be on the Ethereum Mainnet Network (blockchain where various Crypto exist). Most exchanges are on the Ethereum Network. Click on the top right dropdown to ensure you are on the Ethereum Network.

1b - Add extension to Chrome
The extension page will open up with the MetaMask logo. Click on the button - “Add to Chrome”. A popup window will open asking you to add MetaMask. Click on the button “Add Extension”

1e - Save Secret Backup Phrase
When you create a wallet, a secret backup phrase will be generated by the system. Your secret backup phrase makes it easy to back up and restore your account. You may copy and save it in a secure place or download the same by clicking “Download Secret Backup..”
WARNING: Never disclose your backup phrase. Anyone with this phrase can access your account.

1h - Add Token - BNB and ETH
Click on Add Token and search for BNB & ETH and add both these tokens to the network. You will need this to receive the ETH & BNB needed to make your transactions. Please note both these tokens are on the Ethereum Network.

1c - Click Create Wallet
You will be taken to a page allowing you to create your wallet. Just click on “Create a Wallet”. Those of you who already have a MetaMask wallet and want to use that, please click on Import Wallet with the help of your secret phrase.

1f - Confirm your Secret Backup Phrase
After you save the Secret Backup Phrase you will be asked to confirm it. Type the phrase in the same order as it in your saved file and press confirm.

1i - Copy your Wallet Address
In the center of the page, you will see Account. Below that is your wallet address. Simply click on the account and your wallet address will be copied.

Step 2 - Send ETH to your Wallet
It’s a one-time effort to set this up!
Step 1a - Go to CoinBase and buy ETH
Sign in to Coinbase. Select Buy / Sell on the upper right-hand side. Click the Buy field to select ETH. Enter the amount you'd like to buy in your local currency. For less than $5000 worth of Collector Coin, you need to buy approximately $50 in ETH and $20 in BNB. If you have more than $5000 worth of Collector Coin you need to buy approximately $100 in ETH and $100 BNB. This is the fee that will be charged for conversions and transactions.
Select your payment method. Click Preview Buy to confirm your purchase (you can always click the back arrow to make a change). If the details are correct, click Buy to complete your purchase.
Step 1b - Send ETH to your Metamax Wallet from CoinBase website
From Coinbase Website: Go to www.coinbase.com, select “Portfolio,” and find “Ethereum.” Click “Send,” and paste your MetaMask wallet address that you just copied from your wallet in the “To” field. Double-check that you pasted in the full 42-character wallet address, if you send crypto to the wrong address you will not be able to get it back. Click “Continue,” then “Confirm” to send your ETH, it should take a few minutes to transfer.
Step 1b - Send ETH to your Metamax Wallet from CoinBase App
From the Coinbase app: Open the mobile app, and click on “Portfolio.” Find “Ethereum,” and select “ETH Wallet.” To send ETH to your wallet address that you just copied from MetaMask, click on the send icon in the top right. Enter the amount of Token you want to send and click “Continue.” In the “To” field, paste in your Ethereum wallet address. Click “Preview” to confirm the amount and once you’re ready, hit “Send Now.” Wait a few minutes for it to arrive in your wallet.

Step 3 - Bridge some of your ETH
It’s a one-time effort to set this up!
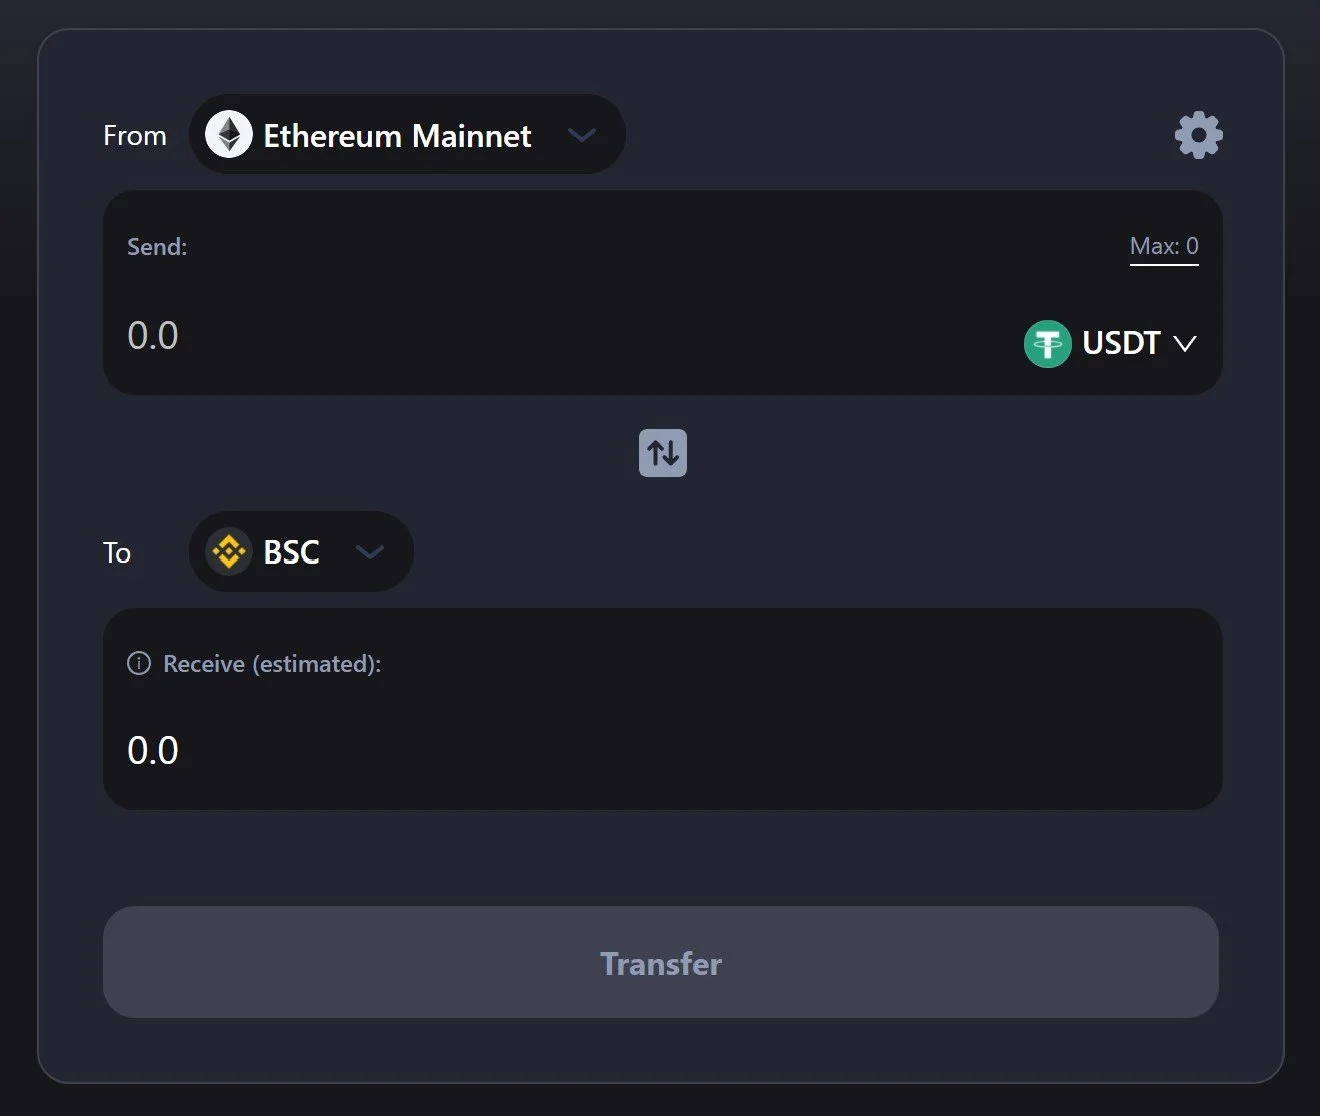
3a - Visit Cbridge
Collector Coin is on the Binance Chain Network. It is a network that uses very little transaction fees. Most exchanges are on Ethereum Network that is high on the transaction fee. You will need to convert 30% of your ETH on the Ethereum Network to ETH in the Binance Chain Network. This will be used every time to make transactions. Ensure that your MetaMask Wallet is also on the Ethereum Network when you bridge your ETH.
To do this go to ttps://cbridge.celer.network/#/transfer
3c - Connect MetaMask Wallet
Enter the amount and click on Connect Wallet. You will be asked to confirm the transaction.


3b - Choose Asset, to and From
Choose
Asset: ETH
From: Etherum Mainnet
To: BSC - Binance Chain Network
Send ETH to the BSC network by pressing transfer.
Step 4 - Add Binance Nework & Collector Coin to MetaMask
It’s a one-time effort to set this up!
4a - Go to Custom RPC in MetaMask Wallet
Click on the “Networks” on the top right. By default, it is set to Ethereum Mainnet. The Binance Chanin Network is not automatically added to the MetaMask Wallet. You will need to manually add it. Click on Custom RPC to Add Binance Chain Network.

4b - Choose Asset, to and From
Fill in the following credentials:
Network Name: BSC Mainnet
New RPC URL: https://bsc-dataseed1.binance.org/ or https://bsc-dataseed2.binance.org/
ChainID: 56, or 0x38 if 56 doesn’t work
Symbol: BNB
Block Explorer URL: https://bscscan.com/”
Now click Save
4c - Add AGS as a Token
Click on Add Token and Fill in the following Credentials. The other two fields will fill up automatically.
Token Contract Address: 0x73ffdf2d2aFB3Def5b10bF967Da743F2306A51DB
You will now be able to see the Collector Collector Coins and BNB that you bridged in your account.

Step 5 - Swap Collector Coin
5a - Swap Collector Coin (AGS) to ETH
After you receive BNB in your wallet, simply swap AGS with ETH.

5b - Bridge ETH from Binance Chain to Ethereum Network
To send your ETH to Coinbase you will need to switch it to the Etherum Network. To do this go to go to ttps://cbridge.celer.network/#/transfer.
Choose
Asset: ETH
From: BSC - Binance Smart Chain Network
To: Etherum Mainnet
Click “Connect Wallet” and connect to your MetaMask wallet. Ensure your Wallet is set to the Binance Chain Network. A small fee will be charged for this transaction.

5c - Send your swapped token to Coin Base
Now ETH is on the same network (Ethereum Network) as your Crypto exchange - Coinbase. Change your Network to Etheruem Mainnet (It’s in the top right of your MataMask Wallet). Now you will be able to see your swapped token on Ethereum Network.
Simply click “send” on your wallet and type your Coinbase address and you will be able to send your swapped token into your Coinbase account. Now you can withdraw your crypto into your bank account. Do not withdraw your BNB & all of your ETH. Remember, you will need both to make transaction fees in the future. Going forward you will skip step 1.2.3.4. You just need to swap your collector coin with ETH and bridge it back to the Ethereum Network.
